The Engagement 4Cast

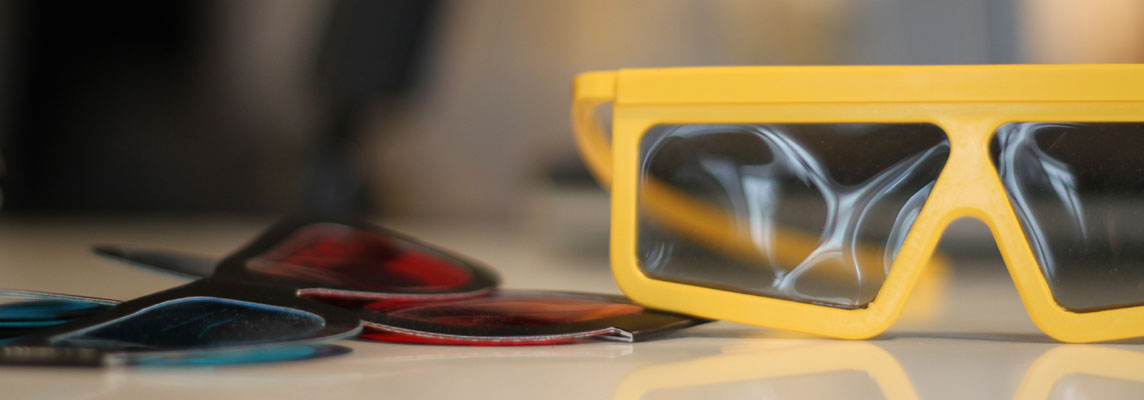
Three-dimensional video can make for an amazing, immersive viewing experience, whether at the theater, on TV, or on the Web. There are various viewing technologies available to watch video in 3D. Stereo Anaglyph is the most common for television and web-based videos, which pair with the traditional Red/Cyan glasses. As technology develops, this is changing with the introduction of 3D TV’s and 3D computer monitors, which use electronic shutter glasses. Polarized lenses are used in theaters. They allow the viewer to see the stereo image in full color. But regardless of how the video is viewed, all 3D video is created the same way.
Fortunately, for experienced production teams, this is a fairly straight forward process. But even for novices, if you understand a few simple concepts, you’ll be publishing 3d content in no time. So before we get too technical, let’s get some lingo sorted out:
To create a 3D effect, we must use two cameras, the lenses spaced about the same distance apart as the human eyes. Since most production cameras are too large to be spaced this close to one another, a beam splitter is used to split the light off to the cameras. Each camera can have an adjustable overlap as a result, thus controlling the parallax. The further apart the cameras are offset, the greater the parallax and the more depth will be produced..
If the cameras are narrowly spaced, there is less depth overall, but this allows your subject to be closer to the lens. Likewise, when filming something farther away, increasing the spacing between cameras increases the depth effect. Note that it’s important that your two cameras are synchronized, that will be important when you want to edit your video.
Thankfully, editing is fairly straight forward as well. We recommend that you bring the videos from both cameras into the same timeline, and make sure they are synchronized. We then hide the “right” camera and edit both tracks, using the “left” track as the reference. (This will be much easier on your computer’s processor). Once the initial edit is complete, we need to set the convergence point for each shot to determine what jumps out of the screen, what is flush with the screen, and what is behind the screen. We’ll cover that in our next issue…

4Site Interactive Studios is a talented troupe of web professionals who are passionate about creating tools to support digital marketers. We love to hear from our community! Reach out to us with your thoughts and questions. And don’t forget to subscribe below to get notified when we post new blogs – no spam, just content👍🏼
Subscribe & stay ahead of the crowd with sage marketing tips and predictions.